Merry Christmas Eve, everyone! It’s just a few short hours until Christmas morning! Are you ready? All gifts wrapped? How about those hard-to-wrap gifts?
You know, I try to avoid those lovely gifts that are a pain to wrap, but I always somehow end up with one to wrap! Things like house shoes; hammers, shovels, hiking equipment…..etc. So I thought I’d share how I have wrapped some of these gifts this year!
1) Since starting my business, I had the idea to make Christmas stockings (which didn’t sell….at all). I originally had three sizes, but the small one was too small, so I repurposed it. It is currently holding a hammer for my husband….he’s still asleep at the moment and doesn’t read my blog, so its safe for me to tell 🙂 I inserted the hammer with the claw down, so it would hang right. The stocking perfectly hides the hammer.
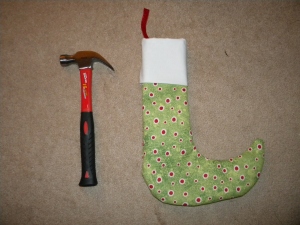
Hammer and Stocking
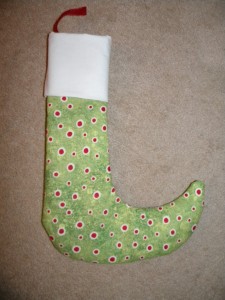
Hammer hidden…mission accomplished!
2) Also in the making of stockings, I had a lot of scrap material left over. So, I drew out a pattern the size I needed for the next formidable hard-to-wrap gift and cut out fabric and a white lining. I wanted these to be little cinch bags so I made a ‘tunnel’ for the ribbon and voila!
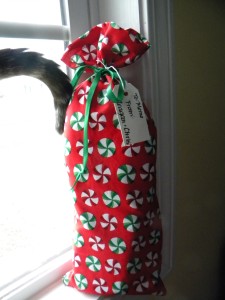
House shoes…and cat #1’s (Coco) tail
3) And last but not least and my favorite way to wrap a hard-to-wrap gift when there is no alternative….drum roll please……..ta da! It’s the black garbage bag!!!! Now, I realize this is probably tacky to many of you, but I had nothing else…not even one of those BIG plastic Christmas sacks, so I made do with what I had. This is hiding hiking gear for my husband….I realized when we went to Standing Stone State Park the other day that we needed improvements to our ‘let’s go hike in the woods with nothing but a camera and cell phones’ attitude. It got really cold, and we underestimated the time this hike was going to take. I got to the point that I couldn’t feel my hands and when my husband tried to warm them with his, they burned. The feeling didn’t return fully until about 4 hours later. So…the improvements I have invested in are a hiking backpack, a first aid kit, anti-itch daubers (for when those blood suckers come out), and the hiking rods (I guess that’s what you call them). And now you see why the trash bag was a good idea!
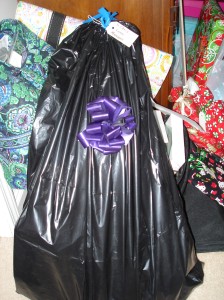
Easiest way ever to wrap a gift!
I hope these three things have given you some ideas for either this Christmas or next…or even events between. Have a very Merry Christmas Eve, everyone!!!!